Photoshop Guide
1. Start Photoshop.
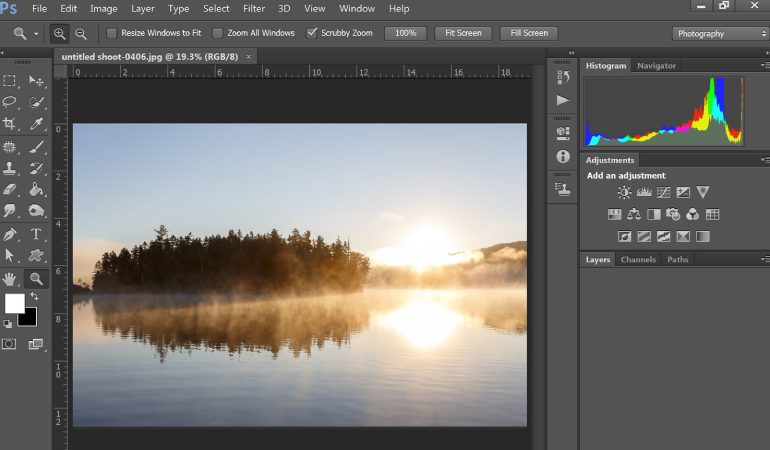
2. Open an image, a part of which you want to select.
3. Click the pen tool in the toolbox.
The pen tool
4. Create the path: Zoom in the image about 300%, which helps to create the path points accurately.á Click a point on the boundary of the part of the image you want to select to create the first anchor point.á Create other points till the last anchor point overlaps the first point.
Part of the image at 300% zoom level with the first anchor point
Path is created and all the anchor points are selected
TIP: How many anchor points should you create?á It depends on the structure of the part.á At complex contours and edges, create points at close proximity.á Otherwise, establish points at large gaps in-between.
5. Edit the anchor points to create a precise path: Select the convert point tool.
Select the convert point tool
Click and drag the anchor point you want to edit with the convert point toolá As you drag, two handles appear on either side of the point.
Two handles appear when you drag an anchor point
Drag a handle in the required direction to fine tune the segment of the path.
Drag a handle in the required direction to adjust the shape of the path
Convert a straight line to a curve and vice versa of a path with the convert point tool: A single click of an anchor point converts a curve to a straight line and vice versa.
Repeat this process for other points also, if required.
The required shape of the path obtained by adjusting the anchor points
To add an anchor point: click the add anchor point tool in the pen tool fly-out in the tool box.á Position the pen, on the path, where you want to add a point and click.
Add Anchor Point Tool highlighted
To delete an anchor point: click the delete anchor point tool in the pen tool fly-out in the tool box.á Click the point, on the path, you want to delete.
Delete Anchor Point Tool highlighted
6. Make selection:á Click the Paths tab in the Layers windowá Click the right arrow and from the drop-down menu, select Make Selection.
Click the Paths tab > Make Selection
The Make Selection dialog appears.
The Make Selection dialog
If you want to soften the boundary of the selection, type 1 in the Feather Radius field.
Note that the higher the value of radius, the more is the softness of the boundary.á Click OK.
Photoshop selects the part with a marquee around it.
A marquee appears around the selected path
Now you can precisely edit the part: fill, apply special effects, apply a filter and other.
A filter effect has been applied to the selection
TIP: If you want to give a name for a path, double-click a path name in the Paths layer, type a name and press Enter. When you save the document, the path is also saved along with it.